How to Water Bath Can Step-by-Step for Beginners
Canning season can be a crazy time in the kitchen for anyone trying to preserve a garden harvest. If you are brand new to home canning, I recommend learning how to water bath can and pressure can a few months before you are knee-deep in fresh garden produce.
Trying to learn everything during the busiest part of the harvest season can get overwhelming fast. That is when people start to hate canning before they ever really get comfortable with it.
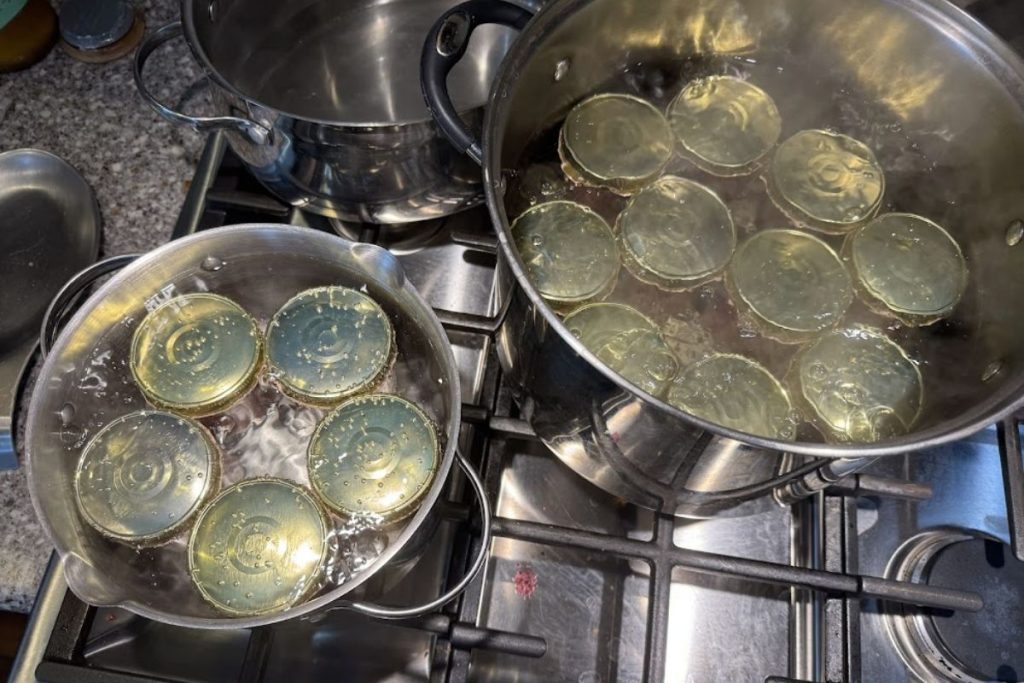
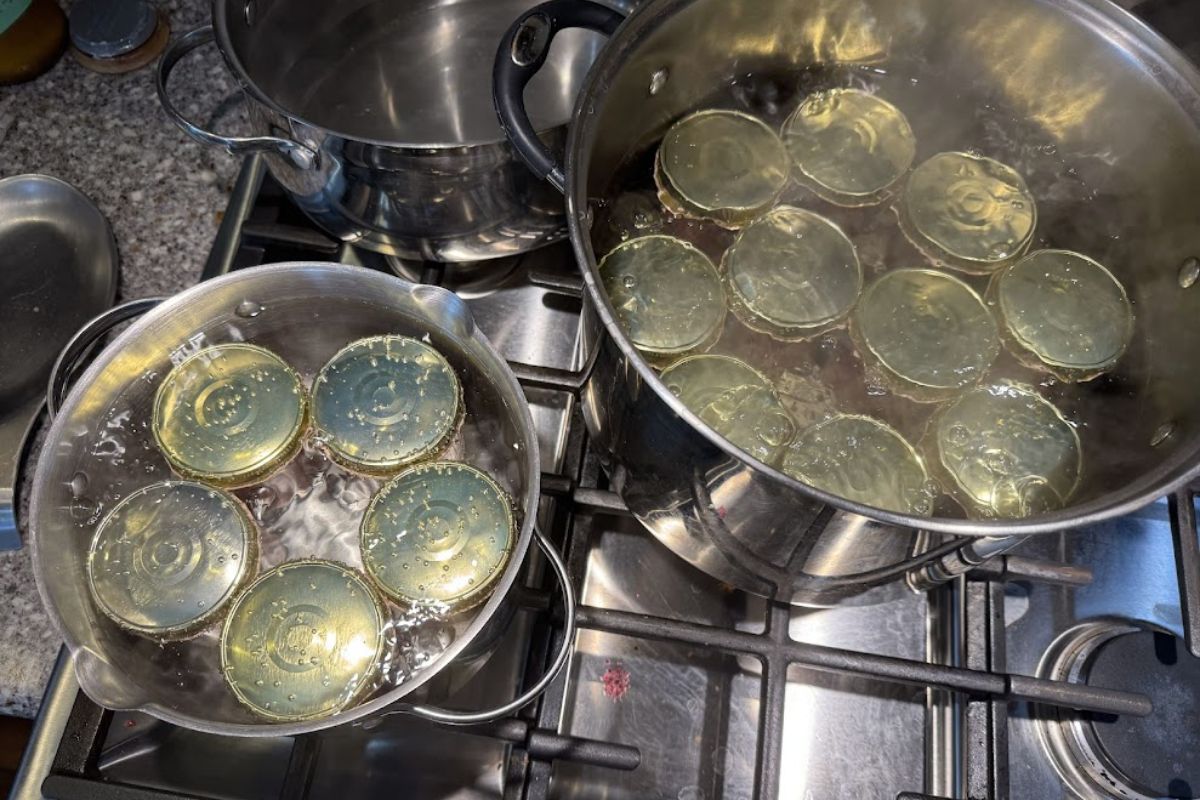
A good place to start is with an easy jam or jelly recipe. Jam is usually one of the best beginner water bath canning recipes because it helps you learn the basic steps without dealing with a large amount of produce at once.
When canning season hits here on our farmstead, I usually know what recipes I am making, what supplies I need, and which foods will be water bath canned or pressure canned. I also use other food preservation methods to take some pressure off canning season, such as drying herbs, dehydrating vegetables, freezing fruit, and storing produce for later.
For example, if my tomatoes start ripening before I am ready to can them, I wash them and toss them into the freezer whole and unpeeled. It works great and buys me a little more time.
This step-by-step water bath canning guide will walk you through the basic process so you can feel more confident before you start filling jars.
What Is Water Bath Canning?
Water bath canning, also called boiling water bath canning, is a home food preservation method where filled jars are processed in boiling water for a specific amount of time.
The jars are placed in a water bath canner or large stockpot, then covered with boiling water. As the jars process, the heat helps destroy potential bacteria in high-acid foods and creates a vacuum seal as the jars cool.
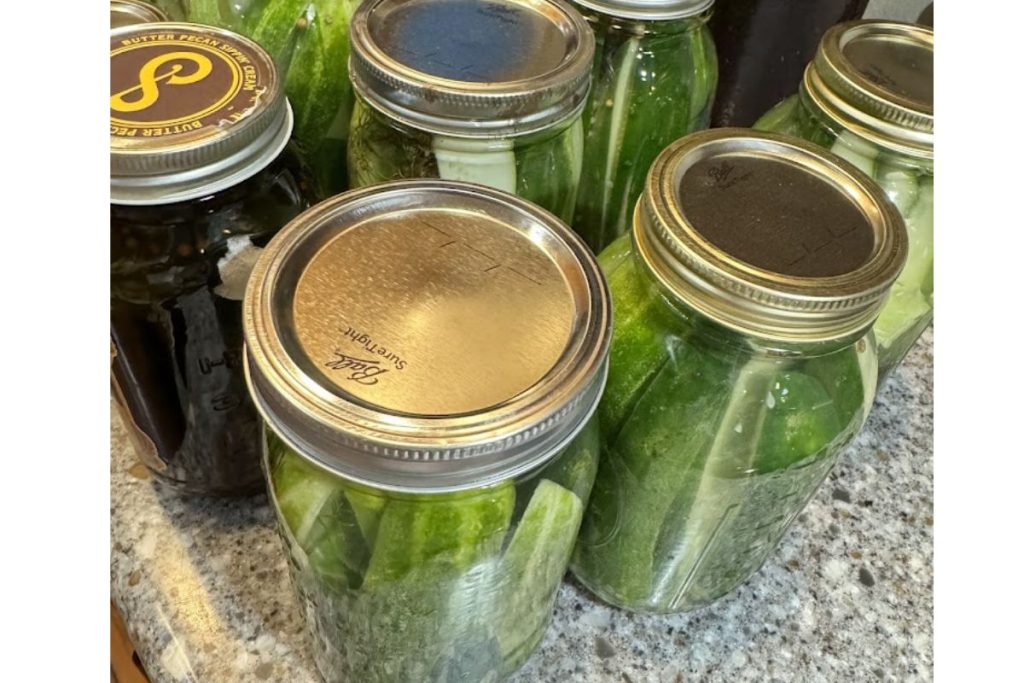
Water bath canning is only safe for high-acid foods and tested recipes. Low-acid foods need to be pressure canned because boiling water does not get hot enough to safely preserve them.
Since I already have a full post explaining the difference between water bath canning and pressure canning, this post will focus on the actual step-by-step process of using a water bath canner.
Common foods for water bath canning include:
Water bath canning is used for high-acid foods and properly acidified recipes. These foods have enough acid, or added acid, to be safely processed in a boiling water bath canner when you follow a tested recipe.
Common foods for water bath canning include:
Pretty much any safe water bath canning recipe will be high in acid, properly acidified with vinegar or lemon juice, or high in sugar and acid like jams and jellies.
The important thing to remember is this: just because something fits in a jar does not mean it can be water bath canned.
Foods that need pressure canning:
Low-acid foods need to be pressure canned. These foods do not have enough natural acid to be safely processed in a boiling water bath canner.
Foods that need pressure canning include:
Pickled vegetables are different because vinegar adds acid. Plain vegetables canned in water are low-acid and need a pressure canner.
Water Bath Canning Supplies You Need
There are a few basic supplies you need for water bath canning. Many of these same supplies are also used for pressure canning.
- Water bath canner, large stockpot, or kettle
- Canning rack
- Mason jars or canning jars
- New canning lids
- Canning bands or rings
- Jar lifter
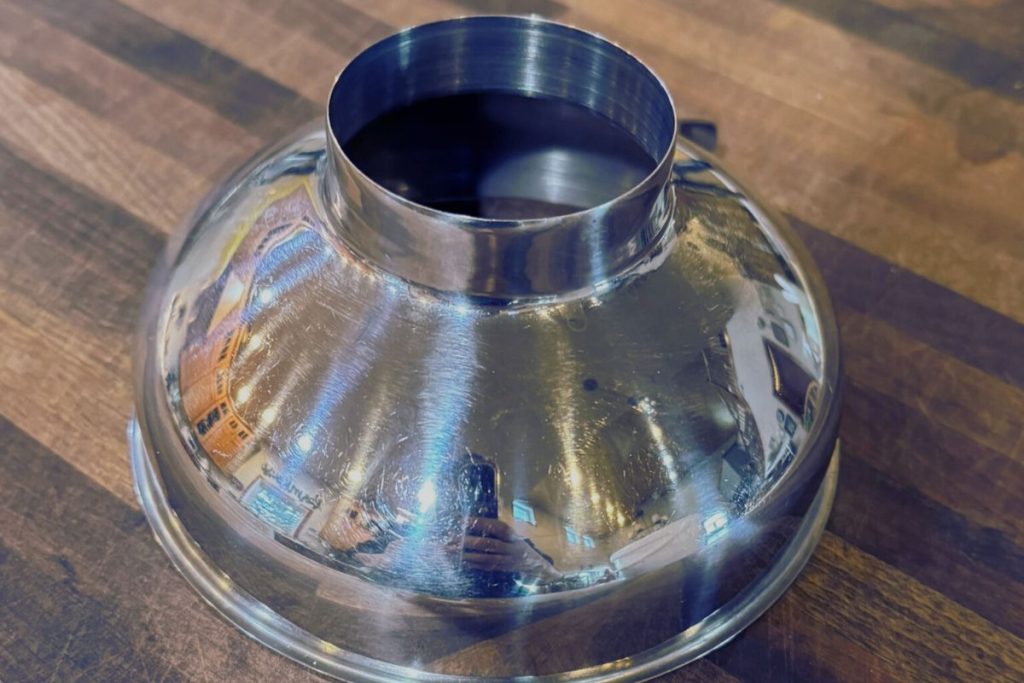
- Wide-mouth funnel
- Bubble remover or headspace tool
- Clean towels
- Ladle
- Vinegar for hard water stains, optional
A canning rack is important because it keeps jars from sitting directly on the bottom of the pot. If jars sit directly on the heat source, they are more likely to break. Some canners come with a rack, but you can also buy one separately.
Tips:
All my stainless steel kettles have really thick tri-clad bottoms, and they don’t require a canning rack since the heat is evenly distributed.
On my own homestead, I like to lay everything out before I start. Once the jars are hot and the recipe is ready, I do not want to be digging through drawers looking for my jar lifter, clean lids, or funnel.
Before You Start: Use a Tested Canning Recipe
Before you start water bath canning, make sure you are using a tested canning recipe from a trusted source.
A tested recipe should tell you:
- The jar size
- The processing time
- The correct headspace
- Whether acid needs to be added
- Whether the recipe is a hot pack or a raw pack
- Altitude adjustments, if needed
If a tomato recipe does not include added acid, I would be very cautious. Safe tomato canning recipes usually call for bottled lemon juice, citric acid, or vinegar because modern tomatoes can vary in acidity.
A tested recipe should also give clear processing times, such as processing pint jars for 10 minutes or quart jars for 25 minutes once the water returns to a rolling boil.
- Never guess processing times.
- Do not change jar sizes unless the recipe allows it.
- Avoid lowering the amount of vinegar, lemon juice, or citric acid.
- Do not thicken or alter a canning recipe unless the tested recipe gives those instructions.
- Always follow altitude adjustments for your area.
As a general rule, you can often use a smaller jar than the recipe calls for, but you should not use a larger jar unless the recipe gives processing times for that larger size.
Common canning jar sizes include quarts, pints, half-pints, and quarter-pints.
How to Water Bath Can Step-by-Step
I broke this water bath canning guide into simple steps, so it is easier to follow. Once you understand the process, water bath canning feels much less intimidating.
After you get comfortable with water bath canning, pressure canning may not feel quite so scary, either.
Step 1: Read the Recipe All the Way Through
Read the entire recipe before you begin. Every tested canning recipe has its own jar size, yield, headspace, ingredients, and processing time.
Make sure you have everything on hand before you start. Canning is not the time to realize you are out of lids, vinegar, sugar, lemon juice, or clean jars.
I like to set out everything I need before the recipe gets going. I lay a towel on the counter for hot jars and spills. Then I place my wide-mouth funnel, ladle, jar lifter, lids, and rings nearby.
Heat-proof gloves are also handy when adding lids and rings to hot jars.
Step 2: Wash and Check Your Jars
Always check your canning jars before using them. Look for chips, cracks, rough rims, or uneven edges. Damaged jars may not seal correctly, and cracked jars can break during processing.
I usually run my jars through the dishwasher before canning season starts, so they are clean and ready to go.
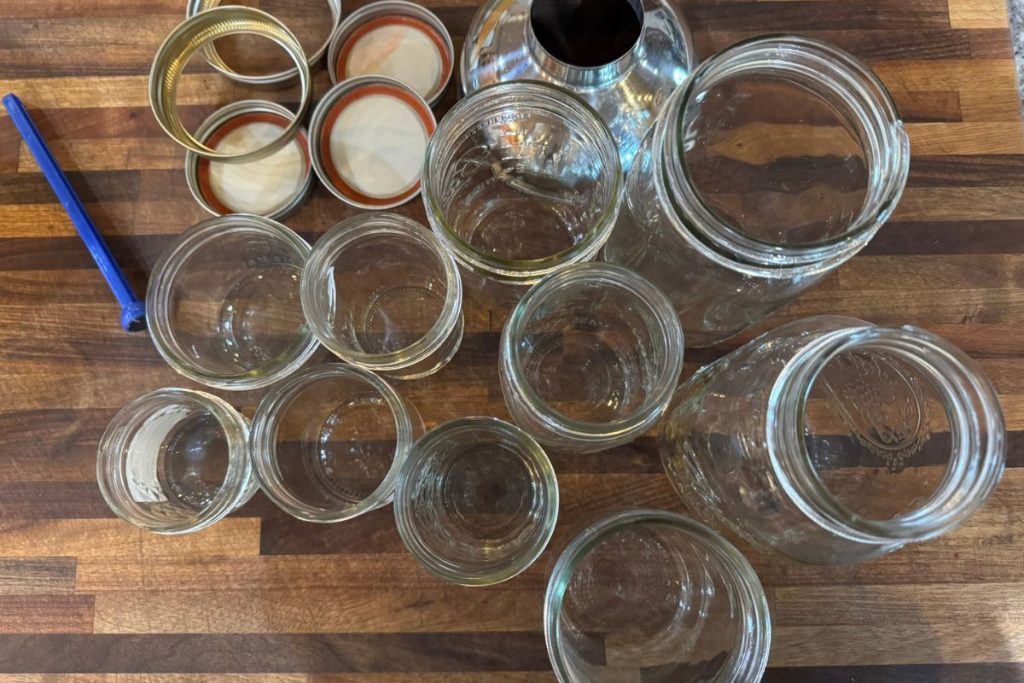
If I am selling my canned product, I like to place my clean jars in hot water while I prepare the recipe. Then I remove them with a jar lifter when I am ready to fill.
You can skip this step. Mom just fills her jars at room temperature and, in her 55 years of canning, has never exploded a jar. Just never fill cold jars, like straight out of the fridge. That will cause the jar to break.
Jars do not always need to be sterilized before water bath canning. If your filled jars will be processed for 10 minutes or longer, the jars are sterilized during processing. If your recipe has a processing time of less than 10 minutes, the empty jars should be sterilized first.
Step 3: Prepare the Water Bath Canner
Fill your water bath canner or large stockpot about halfway with hot water. Place the canning rack on the bottom of the pot.
If you have hard water or well water, you can add a splash of vinegar to the canner water to help prevent cloudy jars.
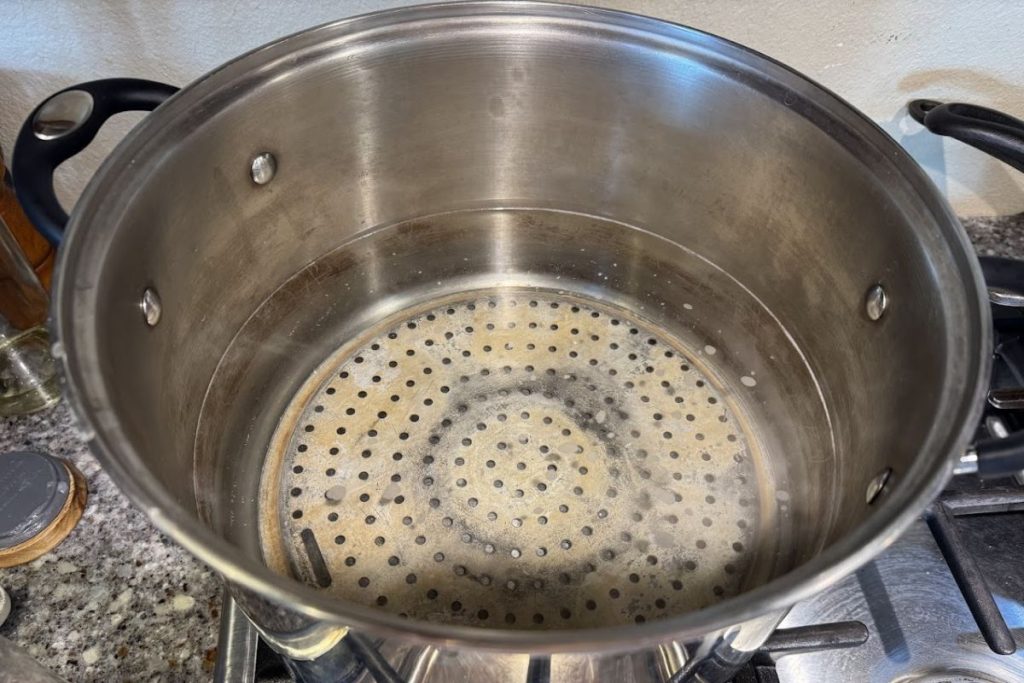
Start heating the water while you prepare your recipe. The water does not need to be boiling the whole time you are prepping, but it should be hot and ready by the time your jars are filled. Makes everything move much faster.
Your filled jars need to be covered with at least 1 to 2 inches of water during processing.
Step 4: Prepare the Food
Follow your tested recipe exactly.
This might mean cooking jam, making a brine, preparing fruit, chopping vegetables for relish, or heating tomato sauce.
I like to have my canner heating and my jars warming while I prepare the recipe. That way, everything is ready at about the same time.
Step 5: Fill the Jars
Remove warm jars from the hot water using a jar lifter. Set them on a towel.
Place a wide-mouth funnel over the jar and fill each jar to the headspace listed in your recipe. Headspace matters, so do not guess.
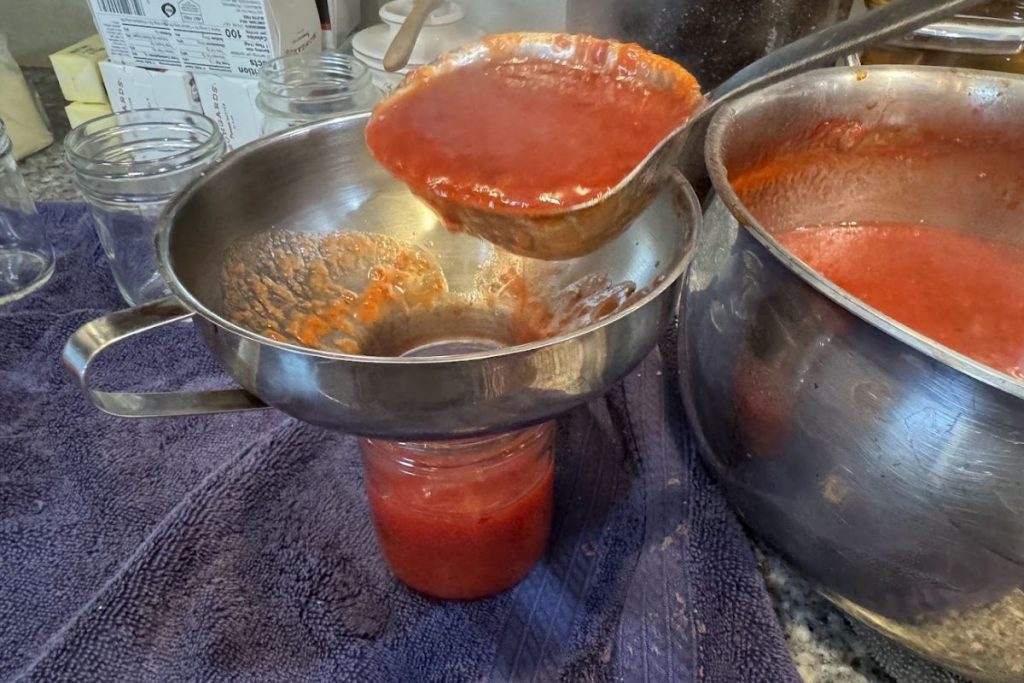
If you overfill a jar, use a clean spoon to remove the extra food. If you have one jar that is not quite full, I usually still process it and use that jar first, as long as it has enough product to process properly, and the headspace is not extreme.
Step 6: Remove Air Bubbles
Use a bubble remover, plastic spatula, or wooden chopstick to remove trapped air bubbles from the jar. You only need to do this if you are canning pickles or pie fillings. Jams and Jelly don’t have issues with air bubbles.
Slide the tool gently along the inside edge of the jar. This helps release air pockets that may be trapped in the food.
I use a butter knife or the handle of a wooden spoon.
Step 7: Check Headspace
Headspace is the space between the food and the top of the jar.
Too little headspace can cause food to leak out during processing. Too much headspace can make it harder for the jar to seal properly and may affect shelf storage.
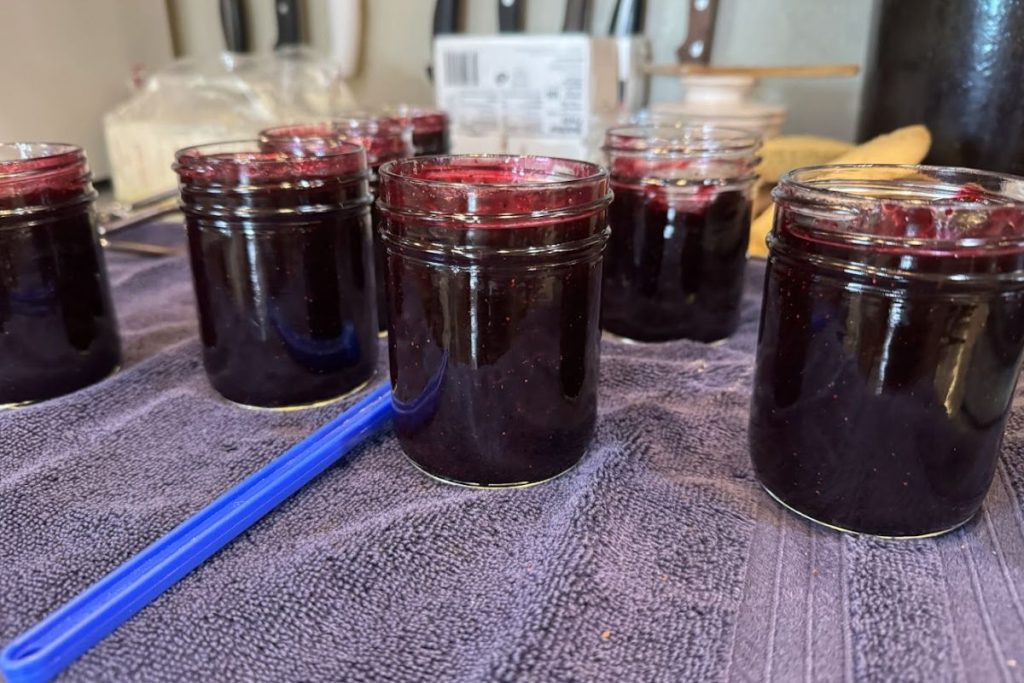
Every tested recipe should tell you the correct headspace. Some recipes call for 1/4 inch, some call for 1/2 inch, and others may need more.
Step 8: Wipe the Rims
Use a clean, damp cloth or paper towel to wipe the rim of each jar. You can dip the cloth in hot water or vinegar.
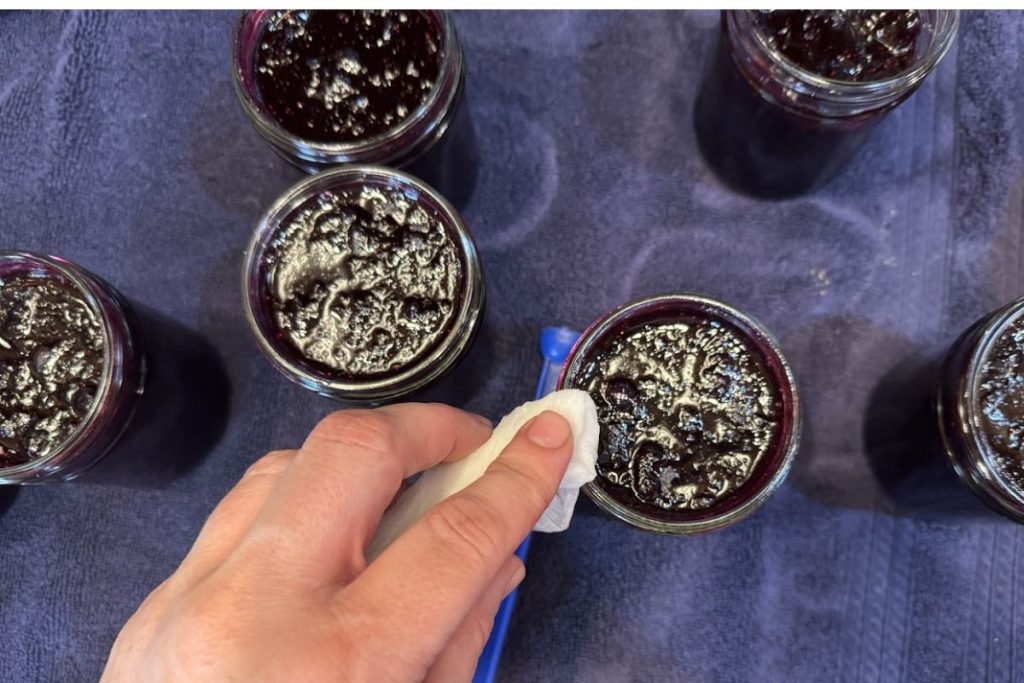
Remove any syrup, brine, seeds, jam, or food residue from the rim. A dirty rim can prevent the lid from sealing.
This step only takes a few seconds, but it can make a big difference.
Step 9: Add Lids and Bands Fingertip Tight
Place a new canning lid on each clean jar rim.
Add the canning band and tighten it fingertip tight. Do not crank the band down hard.
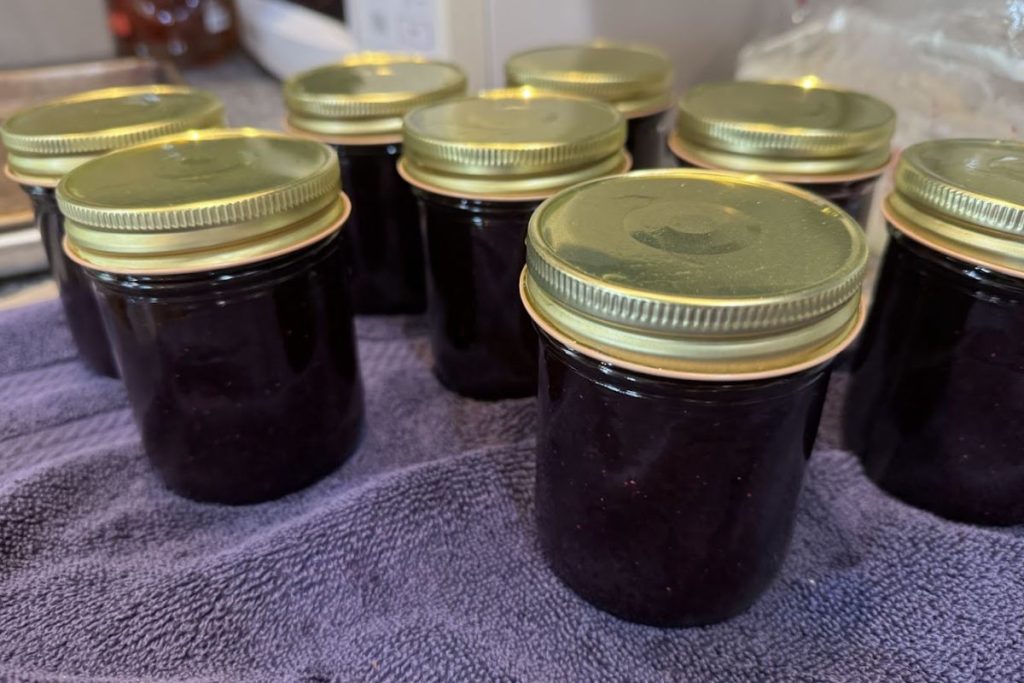
The lid needs to be secure, but air still needs to escape during processing. If the band is too tight, the jar may not vent properly.
Step 10: Load the Jars Into the Canner
Use a jar lifter to gently place the filled jars into the hot water bath canner.
Keep the jars upright and try not to tilt them. Tilting jars can cause food to move into the sealing area.
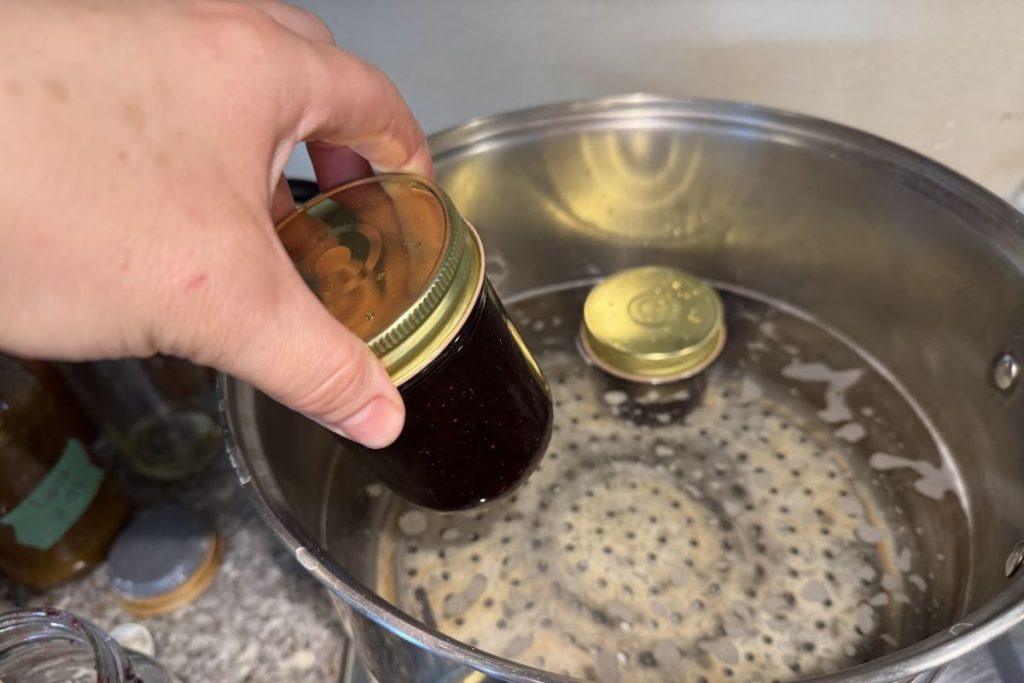
Once all jars are loaded, make sure the water covers the jars by 1 to 2 inches. Add more hot water if needed.
Place the lid on the canner.
Step 11: Bring the Water to a Rolling Boil
This is one of the most important steps.
Processing time does not start when the jars go into the hot water. Processing time starts after the water returns to a full rolling boil.
Bring the water back to a rolling boil, then start your timer.
Step 12: Process for the Correct Time
Follow the processing time listed in your tested recipe.
Processing times can range from 10 minutes to 25 minutes or longer, depending on the recipe, jar size, and altitude.
Keep the water at a steady boil for the entire processing time. If the water stops boiling, bring it back to a rolling boil and restart your timing according to safe canning guidance.
Adjust the processing time for your altitude if needed. This matters because water boils at lower temperatures at higher elevations.
Step 13: Turn Off the Heat and Let Jars Rest
When the processing time is finished, turn off the heat and remove the canner lid.
Let the jars rest in the canner for about 5 minutes before removing them. This helps reduce sudden temperature changes and can help prevent siphoning.
After the short rest, use a jar lifter to remove the jars from the canner.
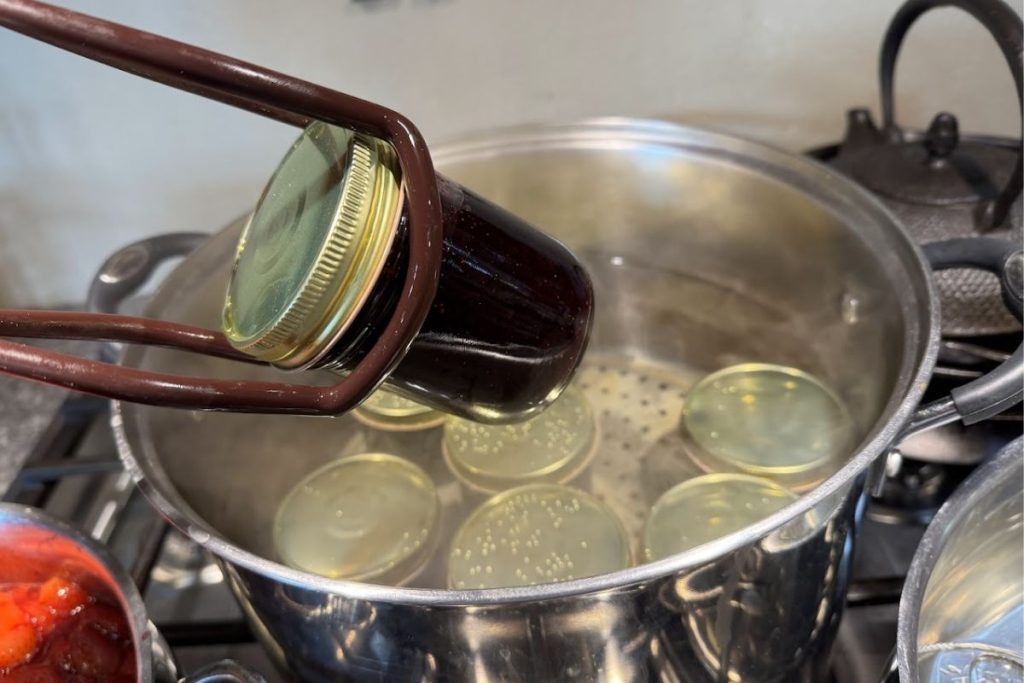
Place them upright on a towel or cooling rack.
Do not retighten the bands.
Do not press on the lids.
Let the jars cool completely for 12 to 24 hours.
Step 14: Check the Seals and Remove Bands
After the jars are completely cool, check the seals.
The little circle in the center of the lid is often called the button or dimple. When the jar seals, that center usually pulls downward.
However, I do not rely on the button alone because false seals can happen. I have had jars where the button was down, but once I removed the band, the lid came right off.
To check the seal, remove the canning band and gently lift upward on the lid with your fingertips. If the lid stays firmly attached, the jar has a good seal. If the lid pops off, the jar did not seal.
Set any unsealed jars aside and refrigerate them to use first.
Step 15: Wash Jars, Label, and Store
After removing the canning bands, wash the jars.
This removes sticky syrup, brine, or food residue. If you skip this step, food residue left on the outside of the jar can mold during storage.
Label each jar with the contents and date.
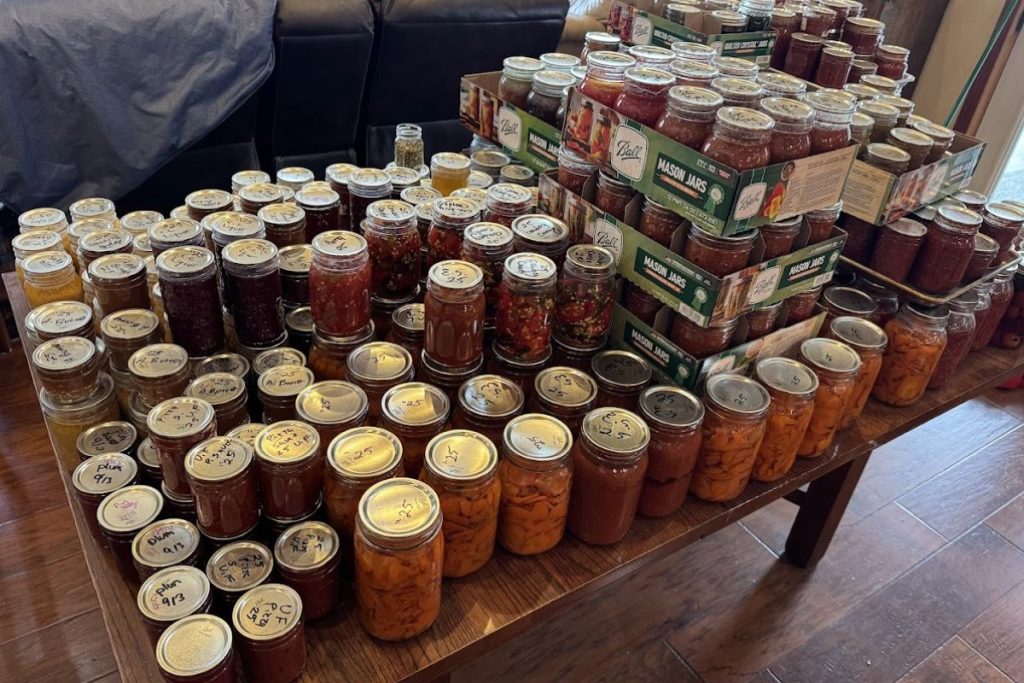
I usually label my jars on the lids because I do not want to scrub labels off the glass later. If I label the side of the jar, I use painter’s tape because it removes easily and does not leave sticky residue.
Store sealed jars in a cool, dark place without the bands.
Leaving bands off during storage helps you spot seal failures. It also keeps bands from rusting onto the lids.
Common Water Bath Canning Mistakes Beginners Make
Starting the Timer Too Soon
Do not start the timer as soon as the jars go into the canner.
After the jars are added, the water needs to return to a full rolling boil. Once the water is boiling hard again, start the processing time.
Not Using Enough Water Over the Jars
Filled jars need to be covered with 1 to 2 inches of boiling water during processing.
If the jars are not fully covered, the food may not heat properly, and the jars may not seal correctly.
Over-Tightening the Bands
Bands should be fingertip tight, not cranked down.
During processing, air needs to escape from the jars before a seal forms. If the bands are too tight, the jars may not vent properly. This can result in bulged lids.
Using Untested Recipes
Untested canning recipes can be risky.
This is especially true with salsa, tomato products, sauces, and pickles. The acid level matters, and changing ingredients can change whether a recipe is safe for water bath canning.
Trusted sources include USDA canning resources, Extension offices, Ball canning recipes, and experienced canners who follow tested canning guidelines.
Forgetting to Adjust for Altitude
Always check whether your processing time needs to be adjusted for your altitude.
Processing time is what helps make the food shelf stable, so this is not a step to skip.
Leaving the Bands on During Storage
Do not store sealed jars with the bands on.
Bands can hide a failed seal. They can also trap food residue and moisture, which may lead to mold or rust.
Once jars are cooled, washed, labeled, and ready for the pantry, the bands should come off.
Water Bath Canning Low-Acid Foods
I know there are rebel canners who water bath can almost everything, but that is not something I do.
I do not want to worry about food safety when feeding my family. On our homestead, I only water bath can recipes that are approved for water bath canning. Everything low-acid gets pressure canned.
How Do I Know If My Canning Jars Sealed?
The little circle in the center of the canning lid is often called the button or dimple. When the jar seals, that center usually pulls downward.
That said, the button test is not the only seal check I trust.
Always remove the canning band after the jars have cooled. Then gently lift upward on the edge of the lid with your fingertips.
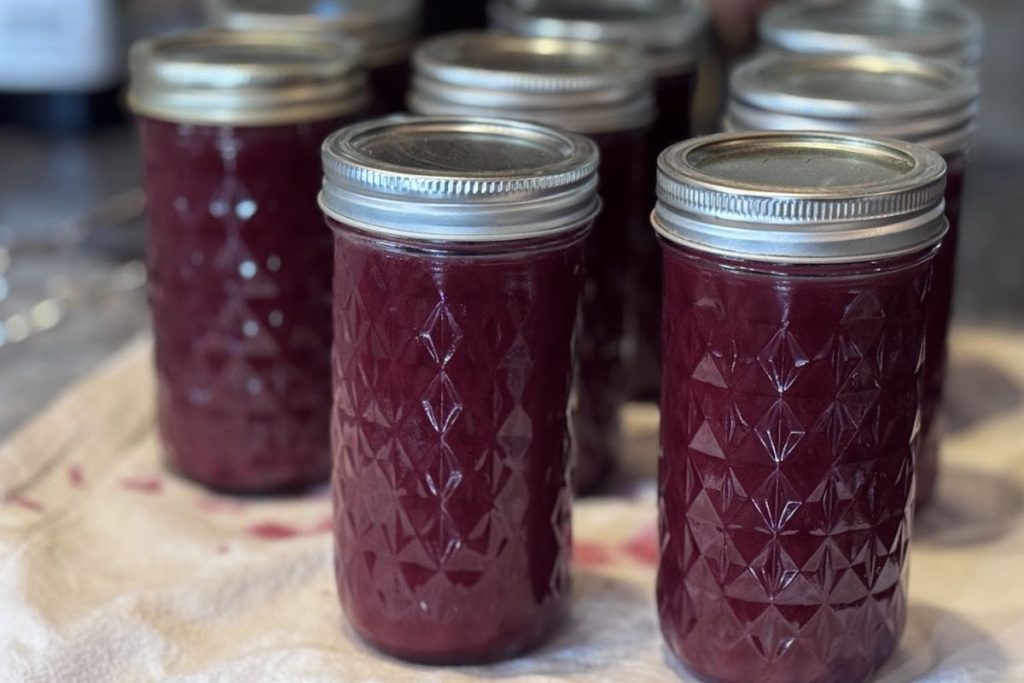
If the lid stays in place, the jar has a good seal.
If the lid comes off, the jar did not seal and should be refrigerated.
This is one reason I always remove canning bands before storage. It helps me find jars that did not seal instead of hiding the problem.
What to Do If a Jar Does Not Seal
If a jar does not seal, do not store it on the pantry shelf.
Place the jar in the refrigerator and use it first.
I usually do not mess with reprocessing an unsealed jar, unless it’s jelly, jam, or salsa. I dump the contents of that jar into the next batch I cam cooking and reprocess that way. You should never put the jar back into the canner and reprocess.
Most of the time, I just put the unsealed jar in the fridge and use it right away.
Do jars need to be sterilized before water bath canning?
Water Bath Canning FAQs
Do jars need to be sterilized before water bath canning?
Jars need to be clean before canning. If the filled jars will be processed in a boiling water bath canner for 10 minutes or longer, they do not need to be sterilized ahead of time. They are sterilized during processing. If the processing time is less than 10 minutes, the empty jars should be sterilized first. I still like to keep my jars room temperature before filling because it helps prevent breakage when hot food is added.
Can I water bath can vegetables?
Plain low-acid vegetables need to be pressure-canned. Pickled vegetables can be water bath canned if you use a tested recipe with the correct amount of vinegar or acid.
Can I use any large pot for water bath canning?
Yes, you can use a large stockpot if it is deep enough, has a lid, and allows water to cover the jars by 1 to 2 inches. You also need a rack on the bottom to keep jars from sitting directly on the heat source. If your stockpot has a thick triclad bottom, you can process without a canning rack. I have done it for years with no jars breaking.
When do I start the processing time?
Start the processing time after the jars are in the canner and the water has returned to a full rolling boil. Do not start timing when the jars first go into the hot water.
Should I store canned jars with the rings on?
No. Remove the bands after the jars have cooled, the seals have been checked, and the jars have been washed.
Why did my jar not seal?
There are several reasons a jar may not seal. Possible causes include:
- Dirty jar rim
- Chipped jar rim
- Old or faulty lid
- Wrong headspace
- Band too tight
- Band too loose
- Food siphoned under the lid
- The jar tilted after processing
- Not enough processing time
- Not enough water over the jars
Water bath canning is one of the easiest home food preservation skills to learn, especially if you start with simple recipes like jam, jelly, pickles, or fruit.
The biggest thing is to slow down, follow a tested recipe, and learn the basic rhythm of canning.
Once you understand how to prepare jars, fill them correctly, process them in boiling water, check the seals, and store them safely, the whole process becomes much less intimidating.
On our homestead, water bath canning is one of the ways we preserve the garden produce and wild game meats and keep homemade food on the shelf.
It does not have to be complicated, but it does need to be done safely.
Start small, learn the process, and build your confidence one batch at a time. When you’re ready for pressure canning, I have a great beginner’s guide to pressure canning safety to help you get started.
